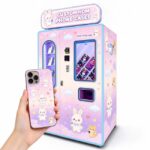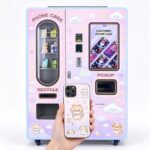


Your phone goes everywhere, and a photo case turns a mass-produced accessory into something you actually chose. To customize a phone case with your own photo, start with a sharp original image, crop it for your exact phone model and camera layout, check a print preview at full size, then pick a production route: an online custom-print service, a DIY insert, a local print shop, or an on-demand phone case vending machine.
The five-step process that produces a clean print
Most disappointing photo cases fail before printing. The image was too small, the crop put a face under the camera cutout, or the screen preview hid a dark background. Run these five steps in order and you remove most of that risk.
- Start with the original file. Pull the photo from your camera roll, cloud backup or camera card. A screenshot of a photo, or a copy sent through a chat app, is usually compressed and softer.
- Crop to the case template, not to your screen. The template shows the real print area and the camera cutout. A photo that looks fine in your gallery can lose the top of a head once it lands on the case.
- Place the subject inside the safe zone. Keep faces and text 10-15 mm away from the camera block and 3-5 mm from the side edges. Leave a little breathing room even if the subject is centered.
- Fix exposure before you upload. Dark shadows turn muddy on plastic. Brighten the shadows, add a little contrast, and avoid heavy filters that crush detail in skin tones.
- Proof at 100% and confirm the model. Check eyes, text and edges at full zoom. Then confirm the phone model, case style and finish before you pay.
If you want a more detailed walkthrough with design examples, see this guide on how to customize a phone case with a picture.
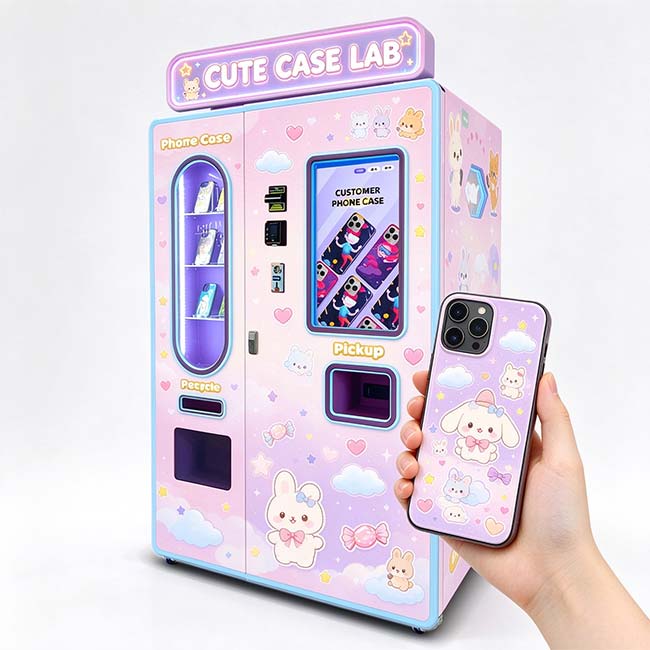
Photo specs that matter for a phone case
Print services use different templates, but the same numbers keep coming up. Use this table as a starting point, then follow the exact template from the company that will print your case.
| What to check | Target | Why it matters |
|---|---|---|
| Resolution | 1,000 x 2,000 px minimum; 1,500 x 3,000 px is safer | Below that, faces and fine text turn soft on a case-sized print. |
| Megapixels | A 12 MP phone photo is usually enough if you do not crop hard | Heavy cropping removes the pixels you need for a sharp face. |
| Print benchmark | 300 DPI at final print size | This is the usual photo-print benchmark for detail the eye can hold. |
| Aspect ratio | About 9:19.5 for a full back; use the case template | Wrong ratios force the printer to crop or add borders. |
| File type | JPG or PNG; some services accept HEIC or PDF | PNG keeps text crisp; JPG is fine for photos. |
| Color space | sRGB | Phone screens and print services both work well in sRGB. |
| Safe zone | 3-5 mm from side edges; 10-15 mm from the camera cutout | This keeps faces and words out of the wrap and cutout zones. |
| Rights | Only images you own or have permission to use | Print shops and vending machines may refuse copyrighted work. |
Crop around the camera cutout before you commit
Use the printer mockup and zoom in. If the main face sits where the lens block will be, move the photo down or choose a wider crop. Text near the side edges is another common loss. On a curved case, the image wraps slightly, so a word that touches the edge can disappear around the side.
If you use a clear case with an insert, print on the correct side and check the camera hole alignment before you cut. A 2 mm shift is visible around the lens. For a direct-printed case, the printer handles alignment, but your crop still decides what lands under the cutout.
Design ideas that hold up on a small canvas
A phone case is roughly the size of a postcard, and the camera cutout takes a bite out of the top. Designs with one clear subject work better than busy scenes with ten small faces.
- One strong portrait with a simple background. Crop from the waist up, not full body, so the face stays large.
- A 2-4 photo collage. Give each photo a clear edge and keep faces at least 2 cm wide in the final layout.
- A pet photo shot at eye level. Fill the frame and avoid a cluttered floor.
- A travel photo with a clear horizon. Add the place name in a bold sans-serif font near the bottom, away from the cutout.
- A photo with a short date or name. Use a heavy font and high contrast; thin script disappears at this size.
- A pattern made from one photo. Crop a small section of sky, flowers or fabric and repeat it if the service allows patterns.
Dark backgrounds and low-contrast photos are the usual reason a case looks muddy. If the subject wears a black shirt against a dark wall, brighten the shadows or pick a different shot. On a glossy case, strong contrast also helps the image read under indoor light.
Case type and print method change what you can expect
Two cases can use the same photo and look different because of the blank and the printing method. The table below compares the common options you will see from online services and local shops.
| Case style | Protection | Print area | Good for |
|---|---|---|---|
| Slim hard or TPU | Light to medium | Full back, sometimes wrapped edges | Pocket carry and a clean photo |
| Clear case with insert | Light to medium | Paper insert behind the case | DIY and quick changes |
| Rugged or armored | High | Smaller flat back area | Drops and outdoor use |
| MagSafe-compatible | Medium | Back panel with a magnet area to keep clear | Wireless charging |
Print method matters just as much. Dye-sublimation pushes ink into a plastic or TPU surface, so it wraps edges well and holds up to daily handling. UV printing cures ink on the surface and gives sharp detail, but the edges can wear faster on a rough pocket. A paper insert is the cheapest route, yet it is not water-resistant and the cut edges show through a clear case.
| Print method | Durability | Photo quality | Watch out for |
|---|---|---|---|
| Dye-sublimation | Good for daily use | Rich color, slightly soft on curves | Not every blank material accepts it |
| UV direct print | Good, with edge wear possible | Sharp detail and text | High-friction edges can dull over time |
| Paper insert | Low to medium | Sharp on paper, limited by the printer | Water damage and visible edges |
Finish also changes the look. Glossy cases give photos more punch but show fingerprints and glare. Matte cases hide smudges and reduce glare, though very dark photos can lose some detail. If the design has fine text, a matte finish often reads better under indoor light.
DIY, online service, local shop or vending machine
The right route depends on how fast you need the case and how much control you want over the proof. For a deeper comparison of these routes, this guide on how to customise a phone case from DIY to smart vending breaks down the tradeoffs.
| Route | Typical cost | Turnaround | Best for | Watch out for |
|---|---|---|---|---|
| DIY insert | A few dollars for paper and a clear case | Same day | Low budget and quick experiments | Not waterproof; cutting is visible |
| Online custom print | Often US$15 to US$40 | 3 to 10 business days | Wide model choice and a proper proof | Shipping time; template mistakes |
| Local print shop | Mid-range, varies by city | 1 to 3 days | Seeing a proof in person | Blank case availability |
| Vending machine | Mid-range per case | 1 to 3 minutes | Events, malls and instant gifting | Model stock and on-screen crop tools |
If you want to find a local option, search for a phone case printer near me and call ahead to confirm they stock your model. A local shop can show you a physical proof, which is useful for skin tones and text. Online services usually give you more case styles and a better design tool, but you cannot hold the proof before you pay.
What to check before you press order
The final preview is where most people rush. Slow down for two minutes and check this list.
- Zoom to 100% and look at the eyes. If they are soft on screen, they will be soft on the case.
- Confirm the phone model and case style. A case for the wrong model is the most common return reason.
- Check that no face or important text sits under the camera cutout.
- Look at the edges. Text and logos within 3-5 mm of the edge can wrap or clip.
- Check the background. A bright window or a busy shelf behind the subject competes with the face.
- Make sure the file is sRGB and not a CMYK export from a design app.
- Save a screenshot of the final proof with your order number.
- Use only images you have the right to print.
Troubleshooting: blurry, dark, cropped or faded prints
Most photo case problems have a known cause. The table below maps the symptom to the fix.
| Problem | Likely cause | Fix |
|---|---|---|
| Blurry faces | Low-resolution screenshot or chat-app copy | Use the original camera file; do not upscale a soft image. |
| Dark or muddy print | Underexposed photo or heavy filter | Brighten shadows, add contrast and avoid crushed blacks. |
| Subject cut off | Wrong aspect ratio or no safe zone | Use the case template and keep a 10% margin around the subject. |
| Camera cutout covers a face | Subject placed too high | Move the image down or choose a wider crop. |
| Text unreadable | Thin font or low contrast | Use a bold sans-serif and keep text away from busy areas. |
| Color looks different | Screen brightness and color profile | Work in sRGB and accept a small shift; avoid neon colors. |
| Print fades or peels | Low-quality method or harsh cleaning | Choose sublimation or UV print; avoid alcohol on the printed area. |
If you want to offer custom photo cases at a venue
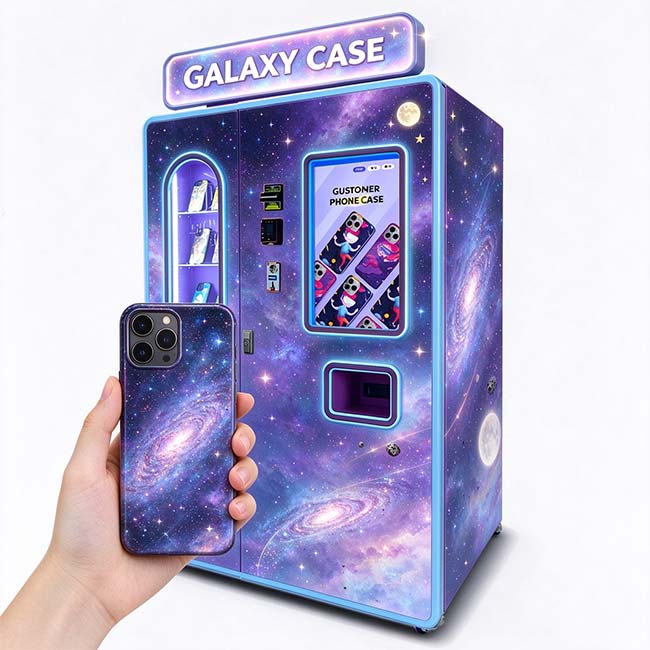
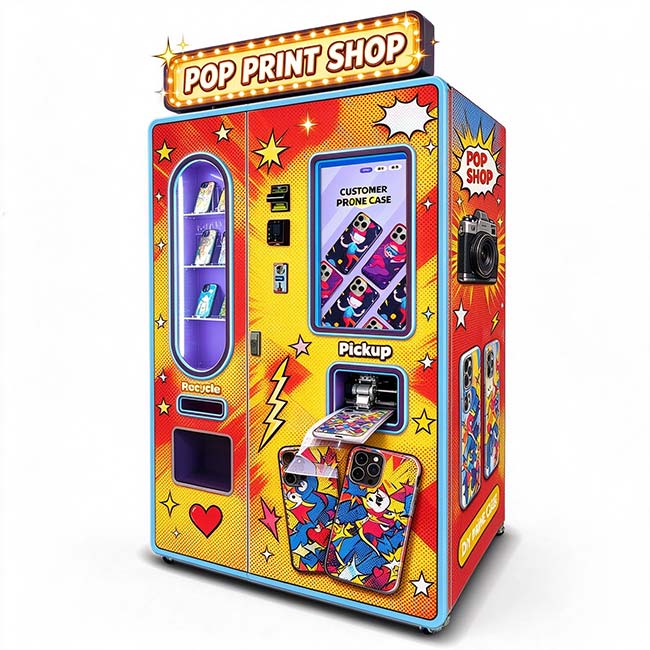
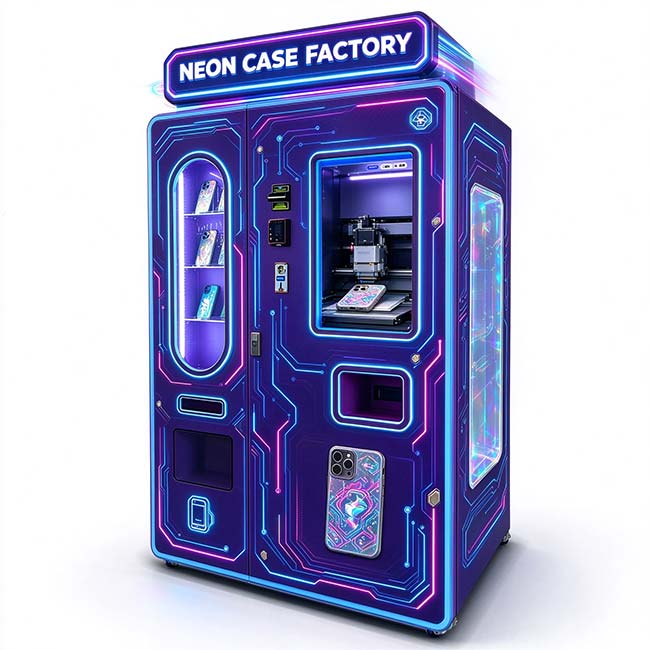
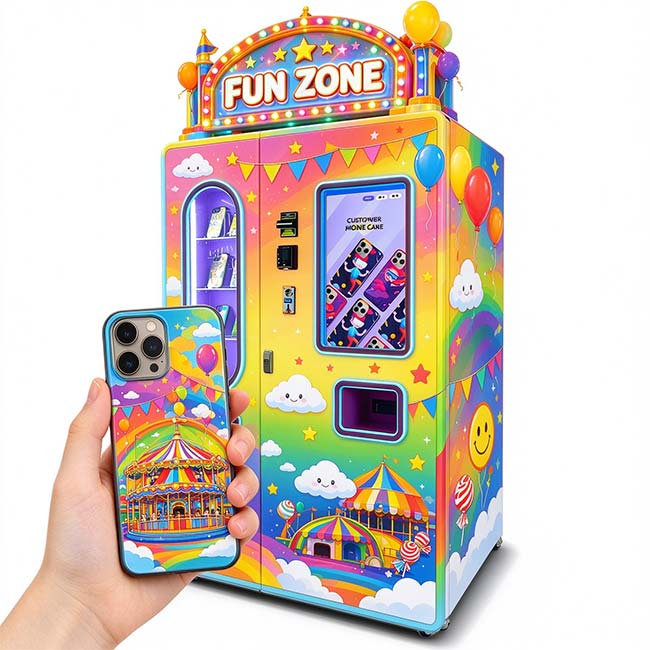
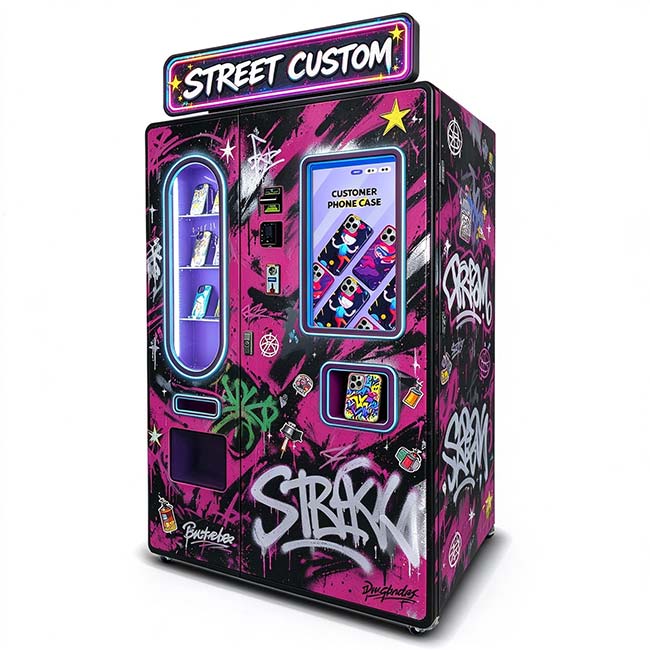
A phone case vending machine changes the workflow. The customer scans a code, picks a phone model, uploads a photo and pays at the machine. The case prints on the spot, so there is no shipping wait and no separate design app. This model works in malls, airports, campuses, cinemas and tourist spots where people want a gift in a few minutes.
Wider Matrix builds the WM880 for this use. The machine stores 1,020 cases in the F1080 version and 1,025 in the i1600 version, with support for popular models from Apple, Samsung, Google Pixel, Xiaomi, Huawei and OPPO. Cases are TPU + PC, and the print system uses Epson print heads: the F1080-A1 on the base version, the i1600-U1 on the standard version, and an optional i3200-U1HD upgrade. The i1600 version prints about three times faster than the F1080 and has a longer head life. Print visual recognition helps position the image so the case does not come out with white borders.
The WM880 runs on 110V to 220V and 410W. It accepts coin, cash, credit card, NFC and QR payment. The management app shows sales, order status, printer status and print records, and the optional inventory identification module tracks stock per slot. A single-unit reference price is US$4,999 for the F1080 version and US$5,999 for the i1600 version. For orders of multiple units, contact the sales team for a personalized quote with volume discounts.
For a broader look at the machine category, see this guide to a phone case customize machine and this breakdown of a personalized photo phone case vending machine. If you are comparing print hardware and workflow, the phone case printing machine with photo upload guide covers costs and setup. Wider Matrix has exported 3,000+ machines to over 130 countries and holds CE, RoHS and other international certifications. The company also offers an iPhone case maker machine guide for operators who want model-specific detail.
FAQ
Here are the questions people ask most often before they order a photo case.
What size photo do I need for a custom phone case?
Aim for at least 1,000 x 2,000 pixels, and 1,500 x 3,000 pixels is safer. A modern 12 MP phone photo is usually enough if you do not crop it hard. The print service template matters more than the megapixel count, so follow its recommended dimensions.
Can I use a screenshot or an Instagram download?
You can, but the quality often drops. A screenshot of a photo is a copy of a copy, and social platforms compress uploads. Use the original file from your camera roll or cloud backup when you can. If the only copy is a screenshot, check it at 100% before you upload.
How do I stop the camera cutout from covering a face?
Use the printer mockup and move the subject down. Keep faces and important text 10-15 mm away from the camera block. If the photo is a tight portrait, choose a wider crop or a different image.
Which file format prints best?
JPG is fine for photos. PNG is better for text, logos and sharp graphics because it avoids compression artifacts. Some services accept HEIC or PDF, but check the uploader before you start.
How long does a custom photo case take?
Online services often need 3 to 10 business days including shipping. A local print shop can usually do 1 to 3 days. A phone case vending machine prints in about 1 to 3 minutes.
Will the print fade or peel?
Dye-sublimation and UV prints hold up well under normal use. Heat, harsh cleaners and constant pocket friction shorten the life. Clean with a soft damp cloth and avoid alcohol on the printed area.
Can I print a collage on a phone case?
Yes. Keep it to 2-4 images and give each face enough room. A grid of eight tiny photos looks busy on a case, and small faces lose detail.
Is a vending machine print as good as an online service?
It depends on the machine and the photo. A machine with a high-resolution print head, a clear preview and a good case blank can produce a sharp result. Check the print resolution, model coverage and sample output before you buy.
What to do next
Pick the photo first, before you pick the case. A sharp original with one clear subject will beat a clever design made from a low-quality file. Crop with the case template, keep faces away from the camera cutout, and zoom to 100% before you approve the proof.
If you need one case, an online service or a local shop is the simplest route. If you want it in minutes at a mall or event, a photo case vending machine is the practical option. If you run a venue and want to add that service, compare model coverage, print head quality, case capacity and remote management before you choose a machine.